


Ready to change the store-bought selection and create custom mens cotton shorts that perfectly fit your style and comfort? Sewing your own shorts might seem daunting, but with a little guidance, it's a surprisingly achievable project. This beginner-friendly guide will walk you through everything you need to know, from gathering materials to putting the finishing touches on your unique pair of shorts.
Step 1: Choosing Your Fabric
The fabric is the foundation of your cotton shorts, so pick one that feels good and suits the weather. Here are some popular options:
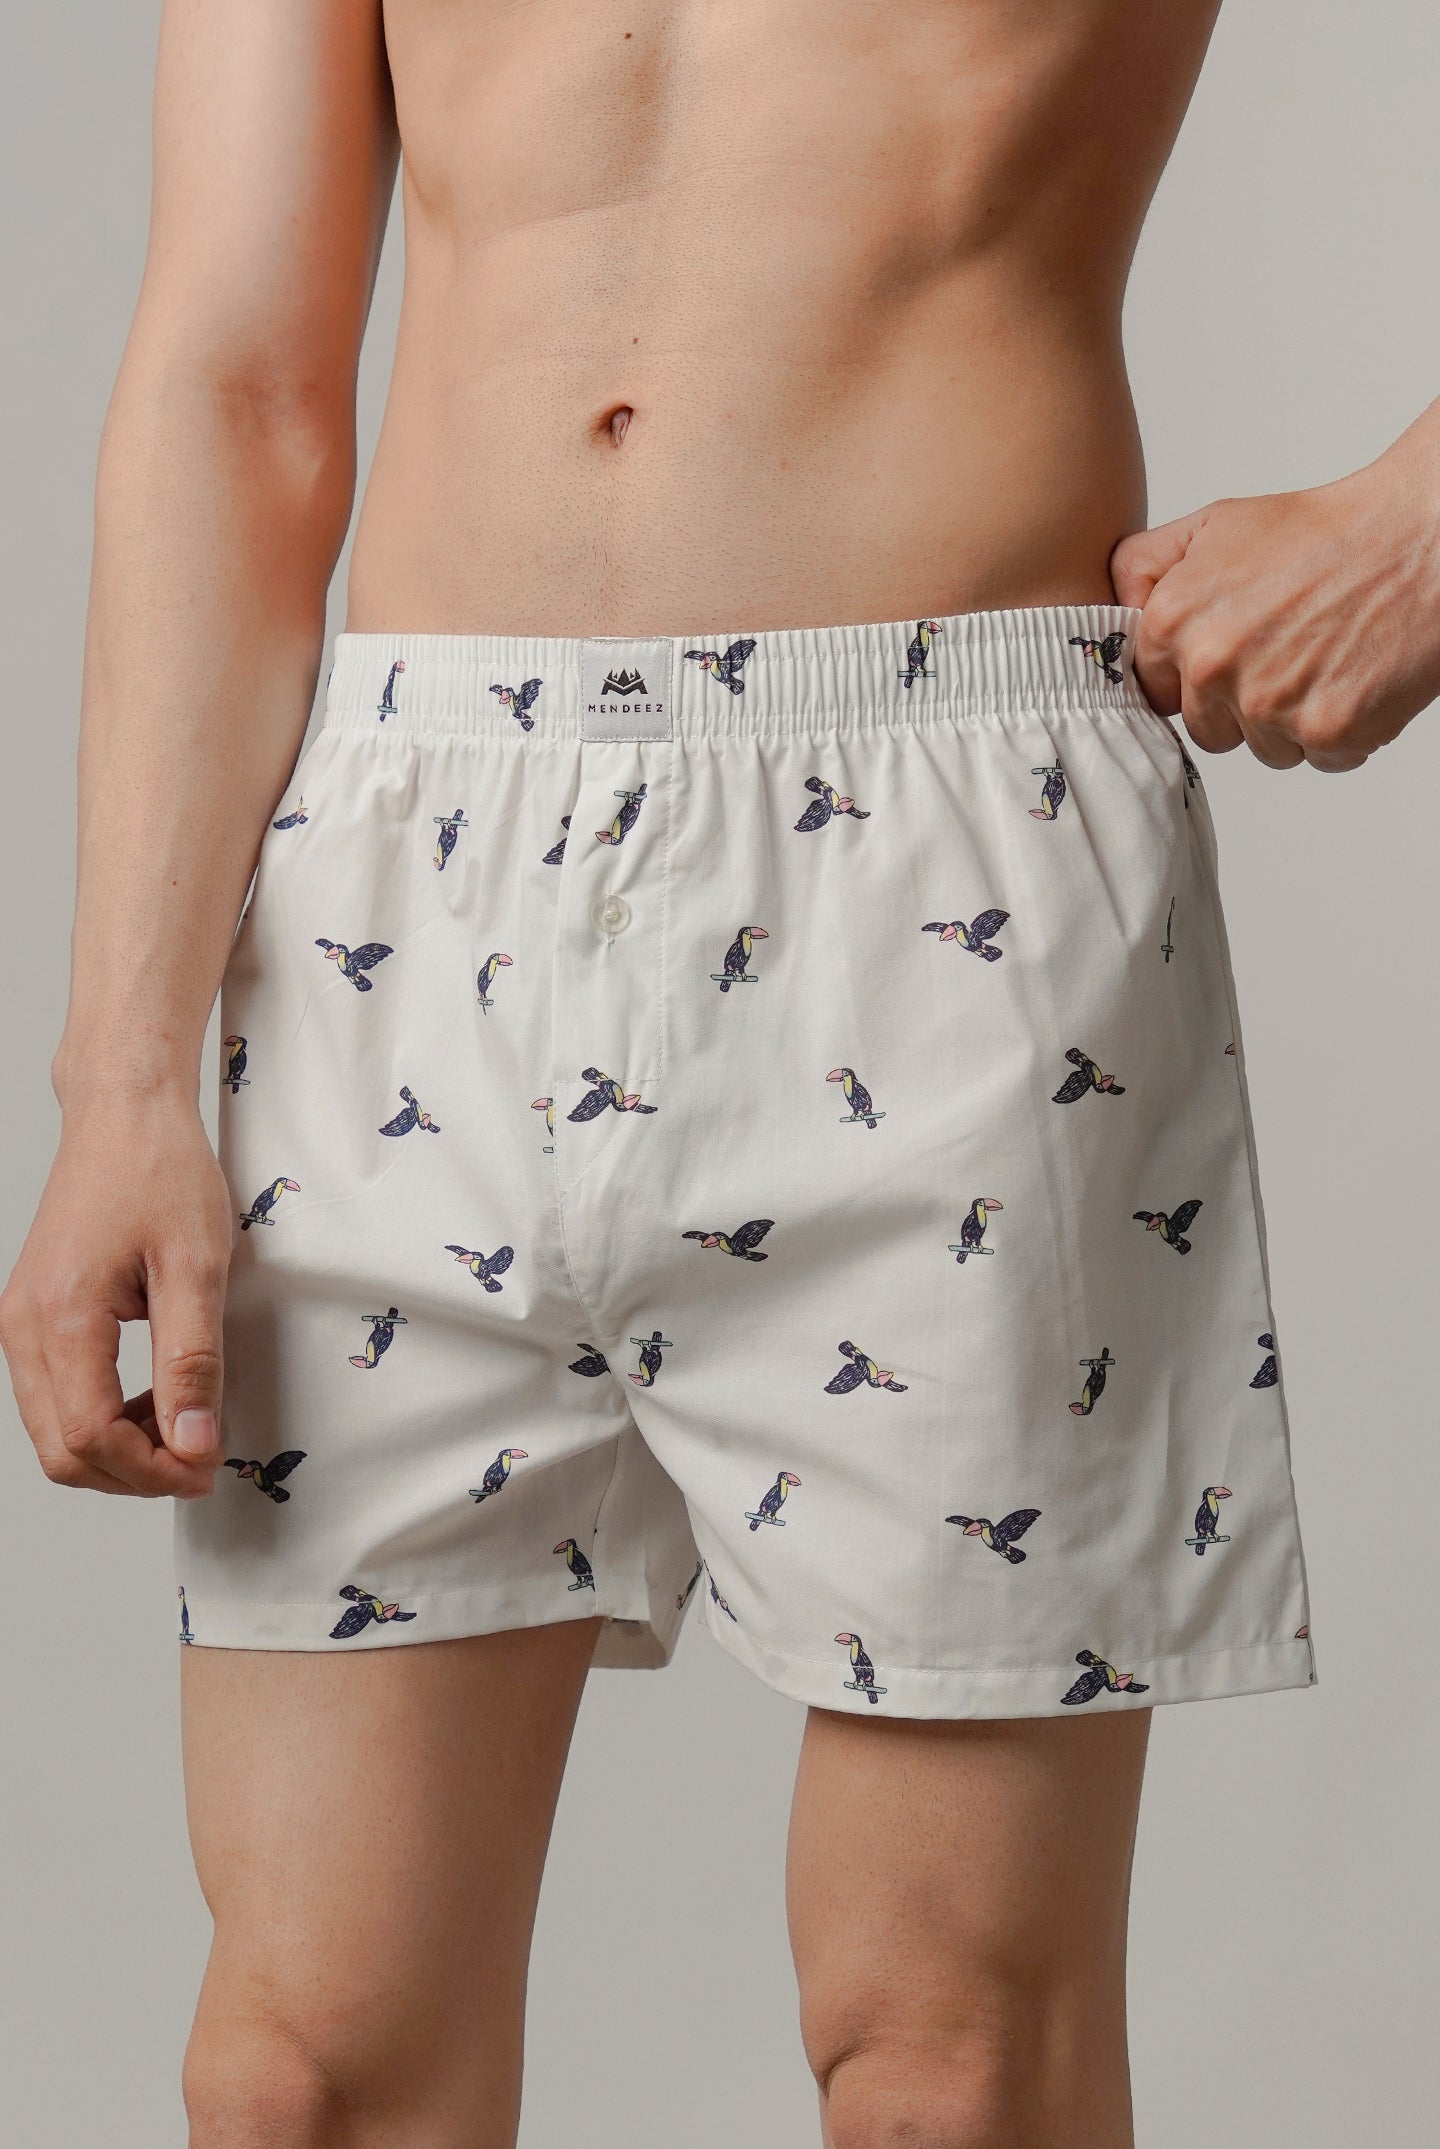
- Woven cotton: A classic choice for shorts, cotton is breathable, comfortable, and comes in a vast array of colors and patterns.
- Linen: Another natural fiber, linen is known for its coolness and airy feel, perfect for hot summer days.
- Linen blends: Blends with cotton or polyester offer a balance between linen's breathability and wrinkle resistance.
- Tech fabrics: For activewear shorts, consider lightweight, moisture-wicking fabrics like polyester blends.
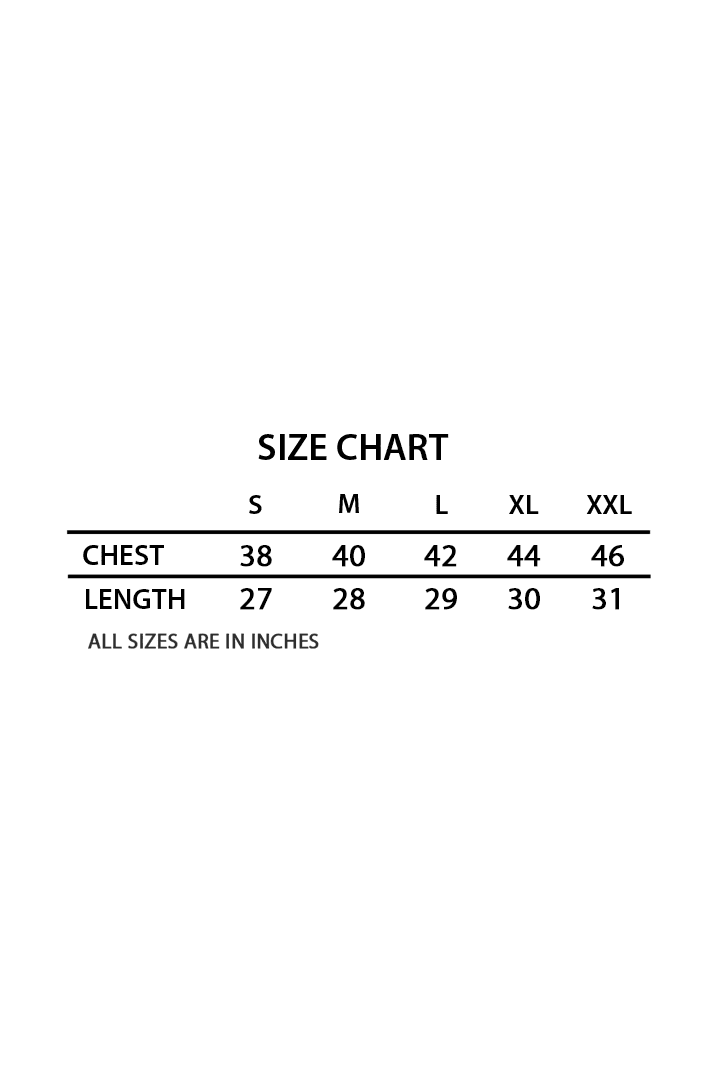
Tip: When buying fabric, remember to factor in seam allowances (usually around 1/2 inch or 1.3 cm) and shrinkage. Purchase slightly more fabric than you think you'll need.
Step 2: Selecting a Pattern (or Making Your Own)
There are two main ways to get a mens long shorts pattern:
- Buy a pre-made pattern: This is the easiest option, especially for beginners. Look for patterns designed for men's shorts and choose a difficulty level that suits your sewing experience.
- Draft your own pattern: If you have a favorite pair of shorts that fits well, you can use them as a base to create your own pattern by tracing the outline of each piece onto paper.
Here are some key things to consider when choosing a pattern:
- Style: Do you want classic shorts, cargo shorts with pockets, or something else entirely?
- Length: Choose a shorts length that flatters your body type and style preference.
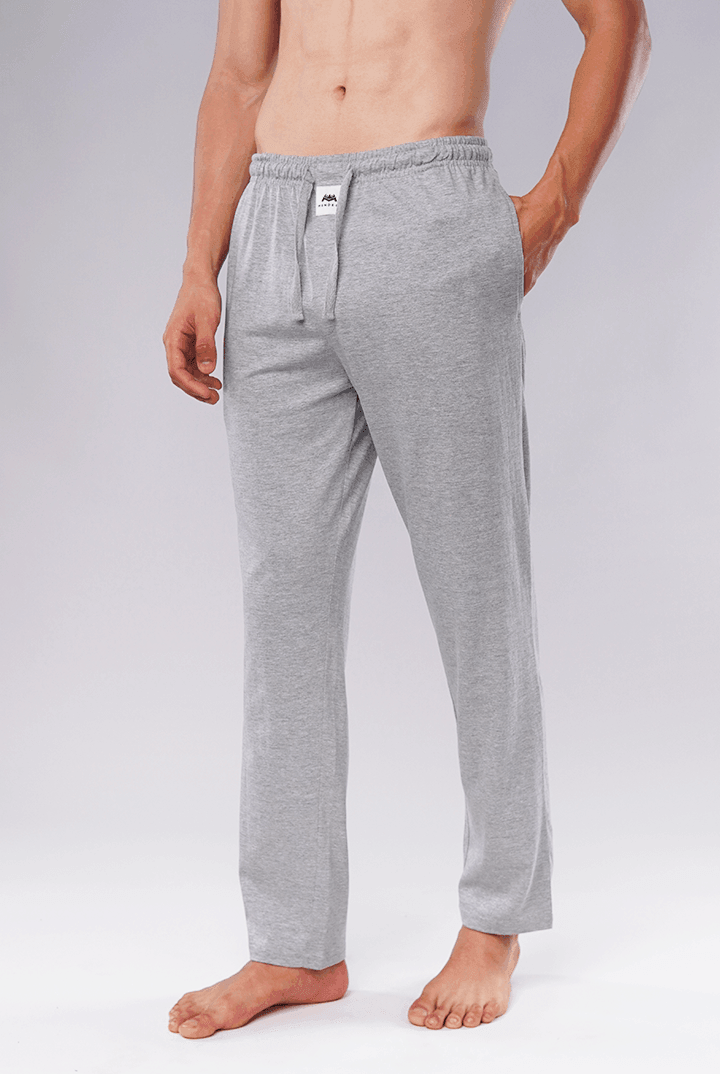
- Waistband: Options include elastic waistbands for a relaxed fit or a tailored waistband with belt loops.
Step 3: Gather Your Sewing Supplies
Now that you have your fabric and pattern, it's time to assemble your sewing arsenal:
- Sewing machine: This is your workhorse! A basic sewing machine will suffice for shorts construction.
- Thread: Choose a thread color that complements your fabric.
- Scissors: Fabric scissors for cutting fabric and sharp sewing shears for trimming threads.
- Pins: Straight pins to hold fabric pieces together before sewing.
- Tape measure: For accurate measurements.
- Seam ripper: In case you need to undo any stitches.
- Iron: For pressing seams flat.
Optional tools:
- Walking foot: This sewing machine attachment helps prevent the fabric from bunching when sewing thicker seams.
- Serger (optional): A serger finishes raw edges professionally, but you can also use a zig-zag stitch on your sewing machine.
Step 4: Cutting Out the Fabric Pieces
Lay your fabric flat and smooth. Following your pattern instructions, pin the pattern pieces onto the fabric and carefully cut them out. Pay attention to markings for notches and directional arrows (if your fabric has a pattern). Remember to cut two mirror-image pieces for each leg.
Step 5: Constructing the Shorts (Let's Get Sewing!)
Here's a simplified breakdown of the sewing process for sewing mens shorts:
- Sew the pockets (optional): If your pattern includes pockets, construct them following the pattern instructions.
- Assemble the legs: Sew the inner leg seams of each leg together, right sides facing. Finish the raw edges with a zig-zag stitch or a serger.
- Create the crotch seam: Pin the front and back leg pieces together at the crotch, matching the notches and seams. Sew this seam.
- Waistband construction: Follow your pattern instructions to create the waistband. This might involve interfacing (adding stability) and creating belt loops (if desired).
- Attaching the waistband: With right sides together, pin the waistband to the top of the shorts, matching the center seams. Sew this seam.
Tips:
- Take your time and pin everything carefully before sewing.
- Backstitch at the beginning and end of each seam for reinforcement.
- Press seams open as you sew for a clean finish.
Step 6: Finishing Touches (Hemming and More)
Almost there! Here's how to add those final details:
- Hemming the leg openings: Fold the raw edge of the leg opening twice (according
- Hemming the leg openings: Fold the raw edge of the leg opening twice (according to your pattern instructions or desired hem width) and iron each fold. Pin the hem in place and sew close to the edge to create a finished look.
- Adding Buttons and Buttonholes (Optional): If your casual shorts have a button closure, sew on the buttons according to their placement on the waistband. Mark the buttonhole locations and carefully sew them using a buttonhole foot on your sewing machine or a buttonhole cutter if you have one.
Tip: Practice sewing buttonholes on a scrap piece of fabric first to get the hang of it.
Step 7: Try It On and Celebrate!
Put on your shorts and admire your handiwork! If there are any minor adjustments needed, this is the time to make them. You can now enjoy your one-of-a-kind shorts, made with perfect fit and exactly the style you desire.
Sewing your own Men's Shorts Sale is a rewarding experience that allows you to personalize your wardrobe and explore your creativity. Don't be discouraged if your first attempt isn't perfect – sewing is a skill that improves with practice. With a little patience and this guide as a reference, you'll be well on your way to crafting comfortable, stylish shorts that you'll love wearing. So grab your fabric, thread your needle, and get ready to unleash your inner tailor!